Close Menu
  • Home
  • Latest
  • Apps & Software
  • Gadgets
  • Internet
  • Mobile
  • More
    • Reviews
    • Social Media
    • Tech
  • Tech News
    • Featured Tech
    • Crypto
    • Fintech
    • Events
    • Startups
    • Tech Careers
  • BHAKTI CEREMONY
What's Hot

Samsung Galaxy Tab A7 Wi-Fi Variant Available for Pre-Order on Amazon

October 3, 2020

If You’re Frustrated by Your Small 13″ Laptop Screen, This Portable Monitor Is Stunning and Almost Free

June 6, 2025

Samsung Galaxy S20 FE real-world images leak

September 18, 2020
Facebook X (Twitter) Instagram
  • About Us
  • Contact Us
  • Privacy Policy
  • Terms & Conditions
  • Disclaimer
Facebook X (Twitter) Instagram YouTube LinkedIn
TechreviewTechreview
  • Home
  • Latest

    The Disrupt 2025 Builders Stage agenda now live and taking shape

    June 20, 2025

    strategies to capture attendees attention

    June 20, 2025

    Shaping the Future – Rezoomex Tech Blog

    June 20, 2025

    Nvidia’s AI empire: A look at its top startup investments

    June 19, 2025

    Who Attends Skift Meetings Forum?

    June 19, 2025
  • Apps & Software
  • Gadgets
  • Internet
  • Mobile
  • More
    • Reviews
    • Social Media
    • Tech
  • Tech News
    • Featured Tech
    • Crypto
    • Fintech
    • Events
    • Startups
    • Tech Careers
  • BHAKTI CEREMONY
TechreviewTechreview
Home»How to»How to take Screenshot in Laptop/Pc
How to

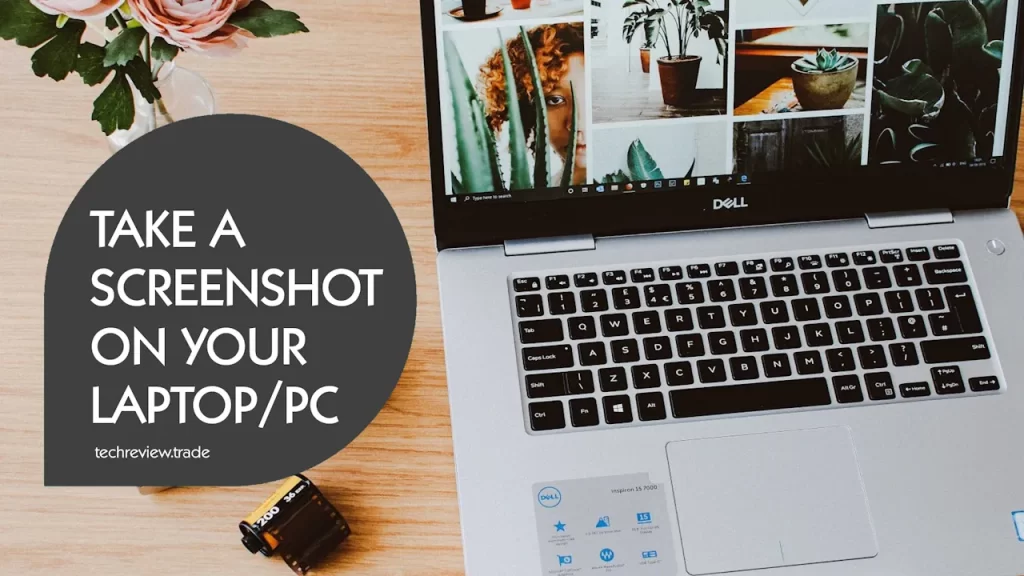
How to take Screenshot in Laptop/Pc

Tech ReviewBy Tech ReviewNovember 11, 2023Updated:May 13, 2025No Comments3 Mins Read
How to take Screenshot in Laptop/Pc

How to take Screenshot in Laptop/Pc: Here are two main ways to take a screenshot on a laptop: using the PrtScr key or using the Snipping Tool.

Using the PrtScr key

To take a screenshot of your entire screen using the PrtScr key, simply press the PrtScr key on your keyboard. This will copy the screenshot to your clipboard. You can then paste the screenshot into an image editing program, such as Paint, or into a document.

To take a screenshot of the active window only, press Alt + PrtScr. This will also copy the screenshot to your clipboard.

Using the Snipping Tool

The Snipping Tool is a built-in Windows utility that allows you to take screenshots of specific areas of your screen. To open the Snipping Tool, press Windows key + Shift + S.

Once the Snipping Tool is open, you can select one of the four following snip modes:

  • Rectangular snip: This is the default mode. To take a rectangular snip, simply drag your mouse over the area of the screen you want to capture.
  • Window snip: This mode allows you to capture a screenshot of the entire active window.
  • Full-screen snip: This mode allows you to capture a screenshot of your entire screen.
  • Free-form snip: This mode allows you to capture a screenshot of any shape.

Once you have selected a snip mode, click and drag your mouse over the area of the screen you want to capture. The screenshot will then be copied to your clipboard. You can then paste the screenshot into an image editing program or into a document.

Saving your screenshots

Once you have taken a screenshot, you can save it to your computer by pasting it into an image editing program and saving it as a file. You can also save your screenshots to the cloud by pasting them into a document such as a Google Doc or Microsoft Word document.

Here are some additional tips for taking screenshots:

  • If you are taking a screenshot of a web page, make sure to scroll down to the bottom of the page before taking the screenshot. This will ensure that the entire page is captured.
  • If you are taking a screenshot of a document, make sure to zoom out to the desired view before taking the screenshot. This will ensure that the entire document is captured.
  • If you are taking a screenshot of a specific object on your screen, you can use the Snipping Tool’s Magnifier tool to zoom in on the object before taking the screenshot. This will help you to capture a more detailed image of the object.

How to keep your Gmail account active and avoid deletion next month

Previous ArticleHow to keep your Gmail account active and avoid deletion next month
Next Article How to Get Verified Blue Tick on Instagram and Facebook in India

Related Posts

How to

“Unlocking Google Discover: Strategies for High-Quality Traffic and Monetization”

September 4, 2024
How to

Six Strategies to Monetize LinkedIn in 2024

September 4, 2024
How to

A Step-By-Step Guide to Remove Your Phone Number from Truecaller

April 1, 2024
Add A Comment
Leave A Reply Cancel Reply

Top Posts

Oppo F21 Pro Said to Launch in India Before Diwali

September 17, 20200 Views

Alt Carbon scores $12M seed to scale carbon removal in India

May 22, 20257 Views

Creator Opportunities on the Lionize Platform

October 14, 20240 Views
Latest Reviews
Gadgets

Samsung Odyssey G9, Odyssey G7 Curved Gaming Monitors With 240Hz Refresh Rate Launched in India

Tech ReviewNovember 26, 2020
How to

How To Get Netflix Subscription From Vi REDX Pack

Tech ReviewNovember 29, 2020
Mobile

Oppo Reno 5 5G, Oppo Reno 5 Pro 5G With 90Hz Displays Launched

Tech ReviewDecember 11, 2020
Most Popular

Startup Battlefield 200: Final call — last day to apply

June 10, 20250 Views

Top 5 Penny Stocks in India That Could Make You Rich

December 9, 20230 Views

Nissan Magnite likely to be priced from Rs 5.50 lakh

November 8, 20200 Views
Hot Topics

Jesse Armstrong Finds Sympathy for ‘Rich Assholes’ in Mountainhead

May 28, 2025

Archer Sheetal Devi Wins Hearts in Paris with Bullseye Start at Paralympics

September 1, 2024

How to Track Someone’s Location on Google Maps with Share Real-Time Location

November 16, 2023

Subscribe to Updates

Subscribe to our newsletter for daily tech reviews, updates, tips, and insights!

Facebook X (Twitter) Instagram YouTube LinkedIn
  • About Us
  • Contact Us
  • Privacy Policy
  • Terms & Conditions
  • Disclaimer
© 2025 Tech Review. Designed by Tech Review.

Type above and press Enter to search. Press Esc to cancel.