AirDrop isn’t just for sharing files between iPhones and iPads — you can also use it to quickly send files to or from a Mac. But how do you use it when it doesn’t work the same way as it does on iOS? Don’t worry. Here’s how to turn on AirDrop on a Mac, including some troubleshooting if you can’t see other devices.
How to turn on AirDrop on a Mac

Unlike many settings on a Mac, you don’t have to dive into a preferences menu to figure out how to turn on AirDrop. The file sharing feature is effectively built into the macOS interface. To make sure it’s enabled, you just have to follow a few brief steps.
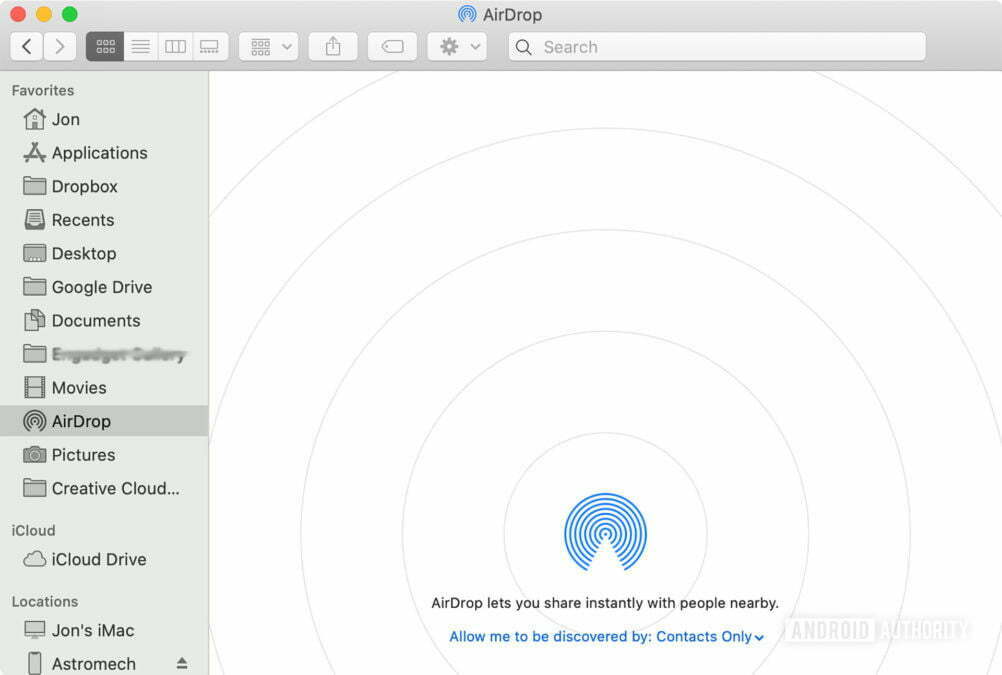
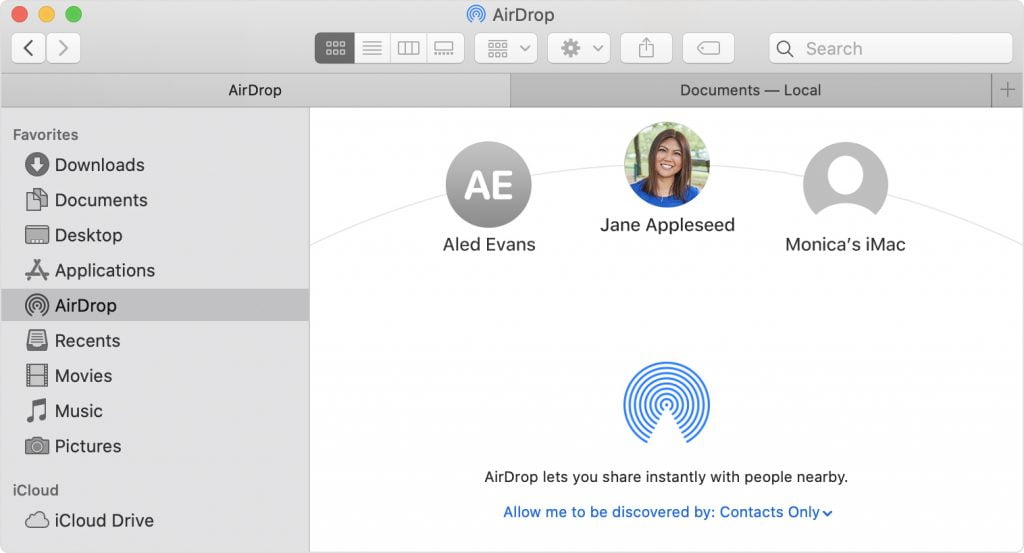
- With Finder selected, choose Go from the menu bar above and choose AirDrop.
- A Finder window will appear with a view of AirDrop-eligible devices.
- Click the blue “Allow me to be discovered by” text to specify who can find you for AirDrop transfers.
- Choose “Contacts Only” if you want to limit sharing to people in your contact list, “Everyone” if you need to share to someone new, or “No One” if you want to turn AirDrop off.
Troubleshooting AirDrop file sharing on a Mac

If you can’t see the devices you want to share with on your Mac even after it’s turned on, here’s how to double-check that everyone else can see and connect to your computer.
- All Macs must have been released in 2012 or later (except for the 2012 Mac Pro) and use at least OS X Yosemite. Click the Apple menu and choose “About this Mac” to find the version.
- All iPhones, iPads, and iPod touch devices must be using iOS 7 or later with Personal Hotspot disabled.
- Devices must be within 30 feet of your Mac with Bluetooth and Wi-Fi turned on.
- Make sure your firewall isn’t blocking AirDrop. Go to System Preferences, choose the Firewall tab, click the lock to enter your administrator password. Click Firewall Options and uncheck “Block all incoming connections.”


